Posted on

How to Dovetail Ribbon Ends and Seal Edges to Reduce Fraying

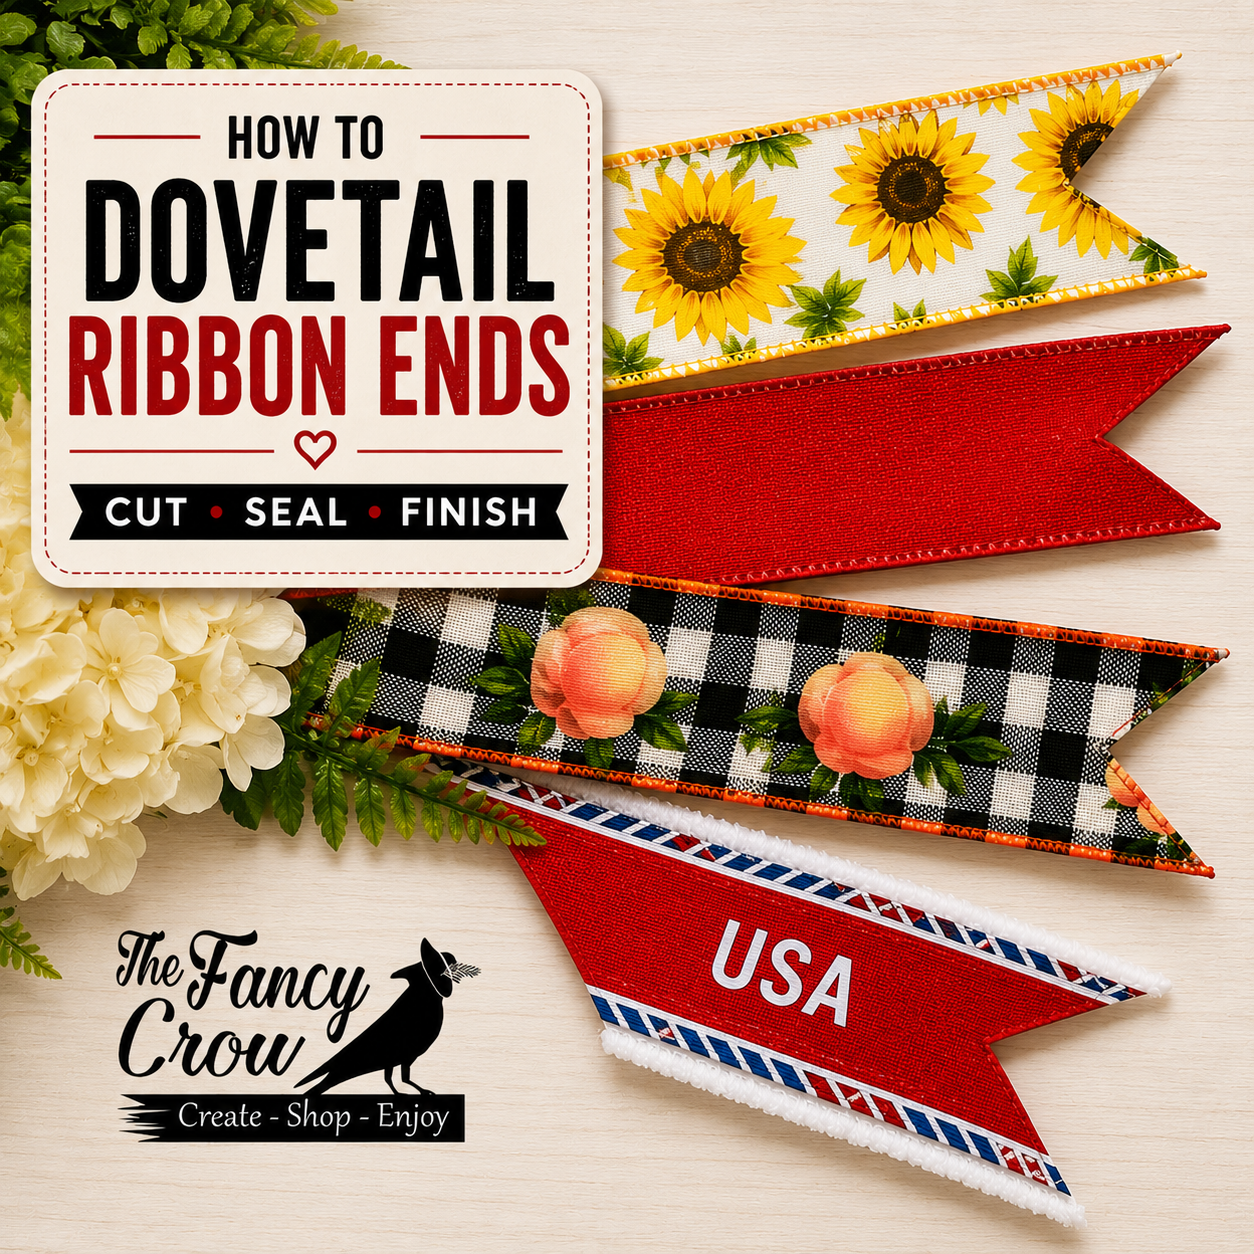
Dovetail ribbon ends with assorted wired ribbons for a ribbon finishing tutorial

TextDovetailing ribbon ends is a simple way to give your bows, wreaths, lanterns, gift baskets, and seasonal décor a more finished look. A clean dovetail cut, also called a V-cut, helps the ribbon tails look intentional instead of unfinished.

In this tutorial, I show how to fold and cut ribbon ends to create a dovetail and how to carefully seal the cut edges to help reduce fraying.

I walk, step by step, through the ribbon finishing process using a variety of ribbons. Different ribbons can behave a little differently, so it is helpful to practice on scraps and notice how each ribbon cuts and seals.

Watch How to Dovetail Ribbon Ends and Seal Edges to Reduce Fraying

In this ribbon tip tutorial, you’ll learn how to:

  • Give ribbon tails a cleaner, more finished look
  • Fold ribbon to prepare for a dovetail cut
  • Cut a clean V-shaped ribbon end
  • Seal the cut edge to help reduce fraying
  • Understand why some ribbons behave differently than others

Supplies Used

  • Scissors
  • Lighter or candle flame (electronic lighters will not work)

Detals

  1. Check to be sure your ribbon is 100% Polyester
  2. Fold the end of your ribbon so wired edges touch (It doesn’t matter if right or wrong sides are together. Either way works)
  3. Hold the wired edges in your non-dominant hand.
  4. Open your scissors wide and begin cutting about an inch below the raw edge. Cut from the fold to the wires. Try to make one long cut if possible. When you first feel your scissor blades touch the wires, open the scissors wide. This makes it easier to cut and helps keep your scissors sharp for longer.
  5. Continue holding the cut ribbon in your hand so the cut ends remain in the same position. Run the end through the flame quickly. Many ribbons will seal with three or four very quick passes. Some thinner ribbons need the flame to come near the ribbon and the fewest passes as possible.
  6. Open the ribbon and run your finger over the ribbon to straighten any creases you may have formed.

Shop Wired Ribbon

The Fancy Crow carries wired ribbon for bow makers, wreath makers, decorators, and creative makers across the U.S.

Shop wired ribbon here:

https://thefancycrow.com/ribbon

Keep Learning

Once you learn how to dovetail and finish ribbon ends, you can use this simple technique on many different ribbon projects. It is a helpful finishing step for basic bows, layered bows, wreath bows, and seasonal decorating.
Posted on Leave a comment

How to Use Directional Ribbon in a Bow Without Turning the Pattern Upside Down

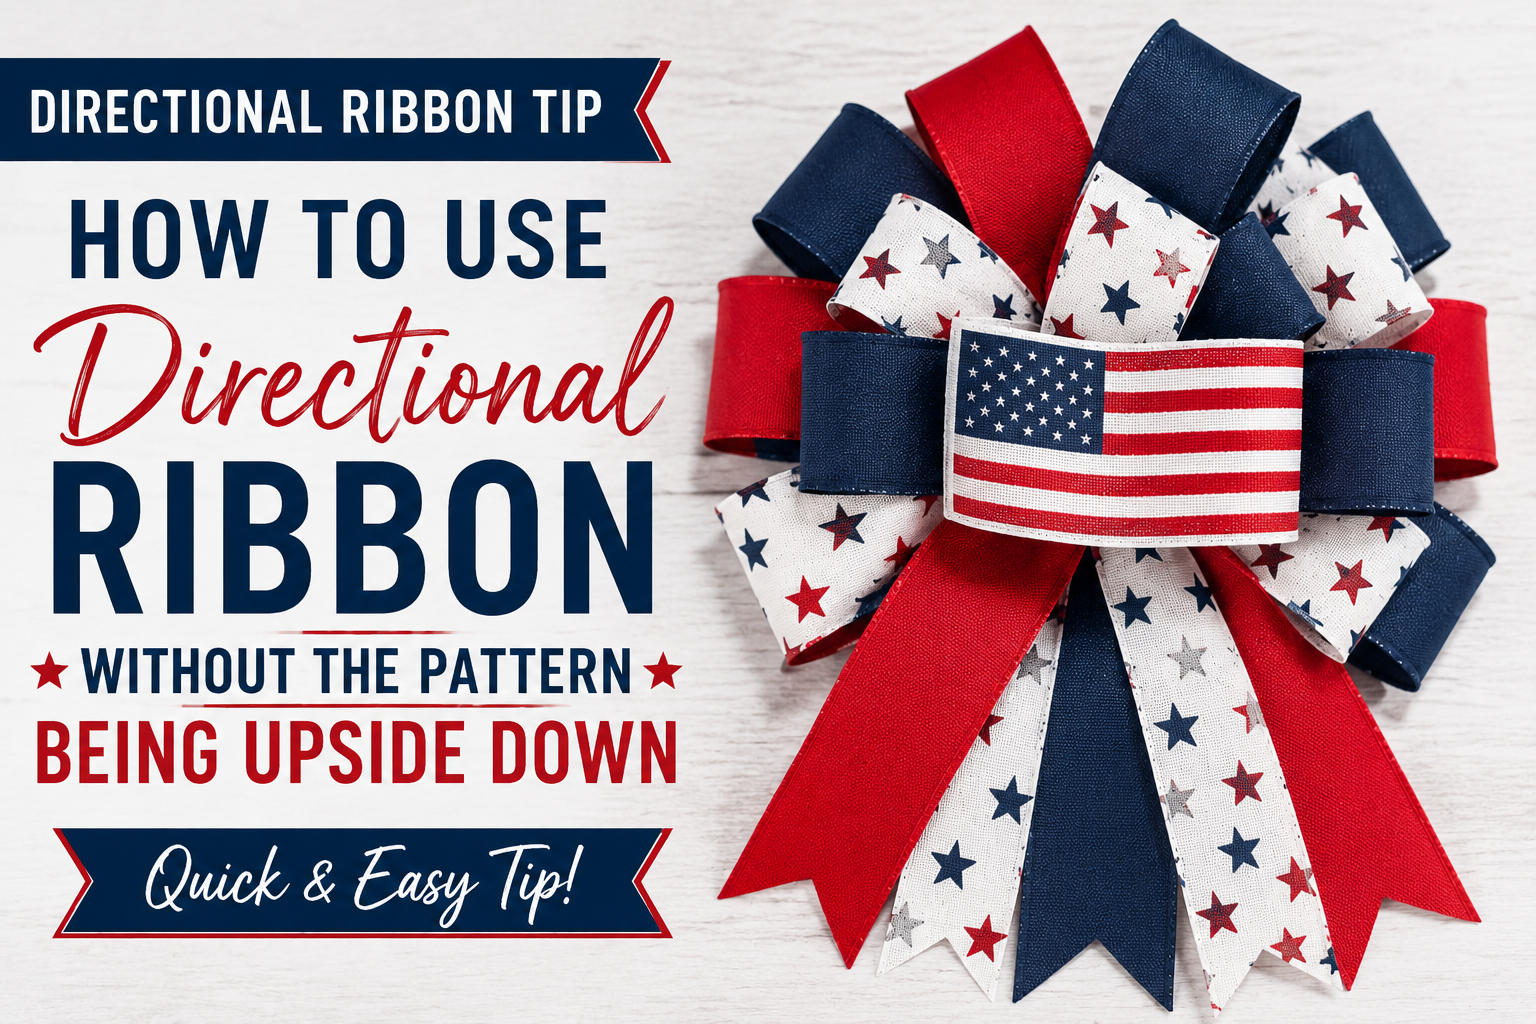
Directional ribbon tutorial graphic showing a patriotic bow with American flag ribbon placed right side up.

Directional ribbon can be beautiful, but it can also be a little tricky. Some ribbon designs have a clear right side up and upside down, which means the pattern can accidentally end up facing the wrong direction in your finished bow.

In this quick ribbon tip, I show how to add an American flag ribbon to the center of a patriotic bow so the flag stays right side up.

This finished patriotic bow uses directional American flag ribbon in the center. The video below shows how to place that center ribbon so the flag design is not upside down.

Watch the Directional Ribbon Tip

This video does not show how to make the entire bow from start to finish. Instead, it focuses on one helpful technique: adding directional ribbon to the center of a bow so the design faces the correct way.

This video does not show how to make the entire bow from start to finish. Instead, it focuses on one helpful technique: adding directional ribbon to the center of a bow so the design faces the correct way.

What You’ll Learn

  • What directional ribbon is
  • Why some ribbon designs can end up upside down
  • How to check the direction before attaching the ribbon
  • How to place an American flag ribbon in the center of a bow
  • How to use this same idea with other directional wired ribbons

What Is Directional Ribbon?

Directional ribbon is ribbon with a design that needs to face a certain direction. Examples include flags, words, animals, characters, pumpkins, ornaments, and other patterns that have a clear top and bottom.

If the ribbon is turned the wrong way while you are making a bow, the design may look upside down in the finished project. Taking a few seconds to check the direction before attaching the ribbon can make the finished bow look much more polished.

Supplies Used or Mentioned

  • American flag directional ribbon
  • Finished bow base
  • Scissors
  • Zip tie, wire, chenille stem, or another attachment method

Stars and Stripes Wired Ribbon:
https://thefancycrow.com/product/stars-and-stripes-2-5-royal-wired-ribbon/

Shop all wired ribbon:
https://thefancycrow.com/ribbon/

Where to Use This Technique

  • Patriotic bows
  • Wreath bows
  • Lantern bows
  • Gift bows
  • Seasonal bows
  • Ribbon accents for wreaths and home décor

This is a simple ribbon technique, but it can make a big difference in the finished look of your bow. Once you start noticing directional ribbon, you’ll find it much easier to plan your cuts, loops, tails, and center pieces.

Need ribbon for your next project? Browse wired ribbon at The Fancy Crow:
https://thefancycrow.com/ribbon/